
Most people who want to bake bread try to learn everything at once. They read about hydration percentages, buy a banneton, attempt a 78% sourdough on a Tuesday night, and end up with a dense brick and a kitchen covered in flour. The enthusiasm is real; the sequencing is wrong.
A week is a good unit of time for this. Seven days is long enough to repeat the basics until they feel normal, and short enough that you don't lose interest halfway through. You will bake something edible on day one. You will bake something better on day seven. Along the way you'll start a starter, learn what dough feels like when it's ready, and build a small habit of paying attention.
Plan on twenty to thirty minutes of hands-on work per baking day, plus waiting. Waiting is most of it.
Before Day One: What You Actually Need
You do not need a proofing box, a bench scraper shaped like a curved blade, or three kinds of heritage flour. You need a scale, because cups are a poor way to measure flour and variability is the enemy of learning. A digital scale that reads to the gram costs very little and will outlive most of your other kitchen gadgets.
- A digital scale. Everything below is written in grams.
- Bread flour or a strong all-purpose flour with a protein content around 12%. One bag is enough for the week.
- Instant yeast. A small tin lasts months in the fridge.
- Fine sea salt. Table salt is fine too; just be consistent.
- A large mixing bowl, a clean tea towel, and a lidded pot with a metal handle if you have one. A heavy pot with a lid stands in for a steam oven.
- A glass jar for the starter, roughly 500ml.
- A notebook. More on this on day seven.
Wholegrain flour is worth having for the starter, even a small bag of wholewheat or rye. It carries more wild yeast and bacteria on the surface and gets fermentation going faster.
Day 1 — Bake a Plain Loaf and Accept the Mess
Start with a direct dough: no starter, no overnight rest, no cold proof. The point is to feel the whole arc of breadmaking once, from flour to cooled loaf, so the later days have something to hang on.
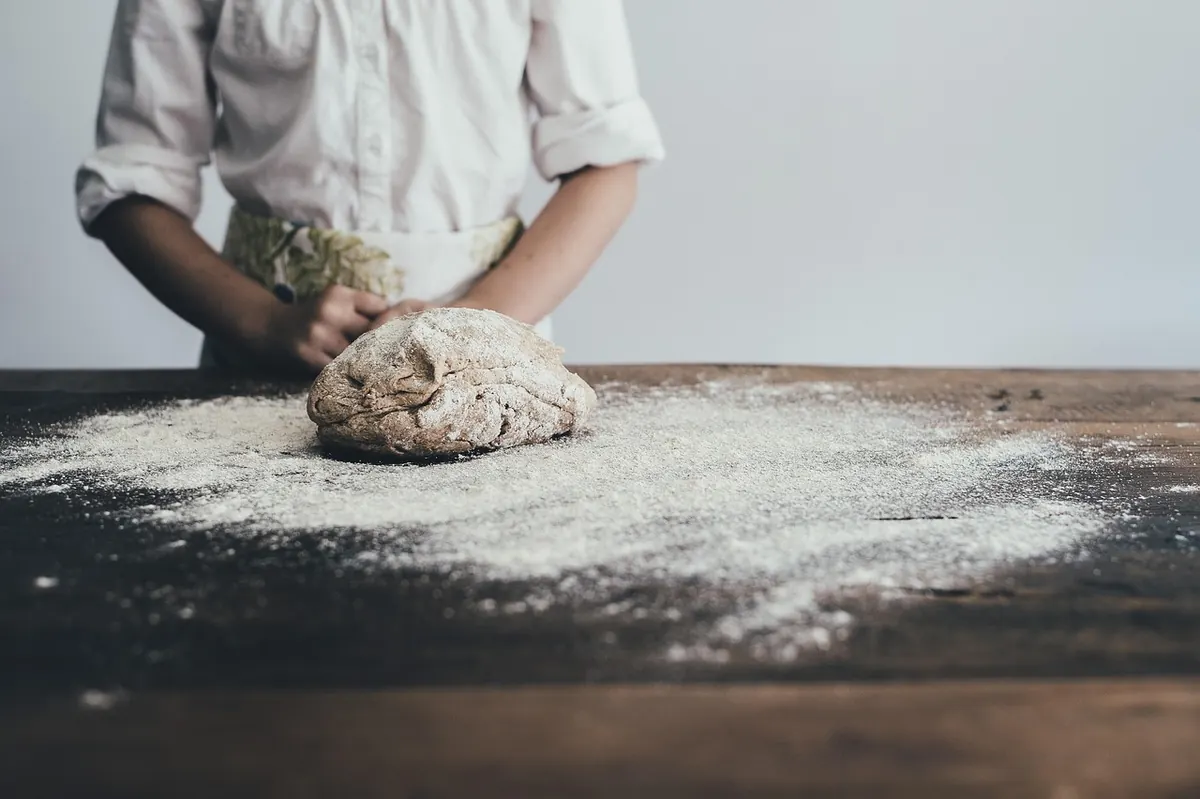
Combine 500g bread flour, 350g water at room temperature, 10g fine salt and 3g instant yeast. Mix with your hand until no dry flour remains, cover, and leave for twenty minutes. This rest does most of the work that kneading used to do. Then knead for two or three minutes, just until the dough stops tearing when you stretch a piece thin enough to see light through it. It doesn't need to be perfect.
Let it rise covered at room temperature for about two hours, until it's visibly puffy and roughly doubled. Fold it over itself twice during that time, at the thirty-minute and sixty-minute marks — wet your hand, lift one side of the dough, stretch it up and press it down over the middle. Four folds around the bowl, once each time, is plenty.
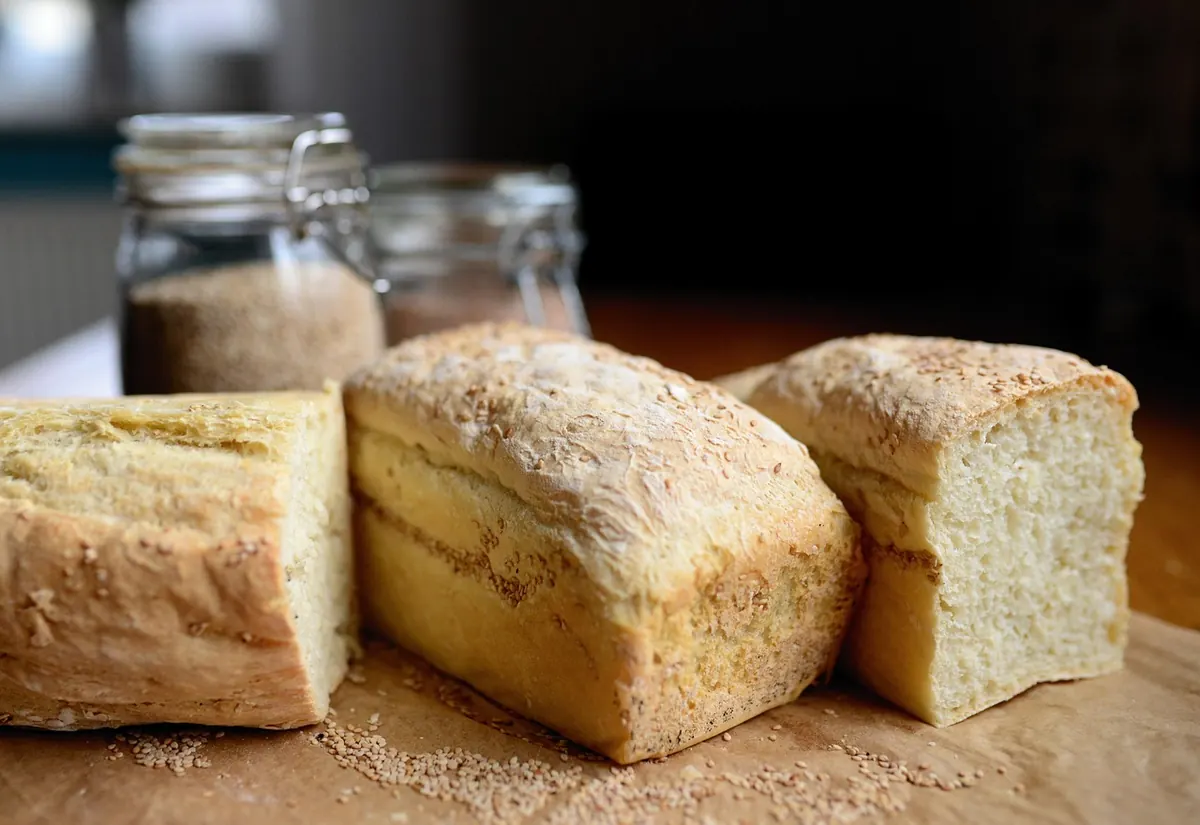
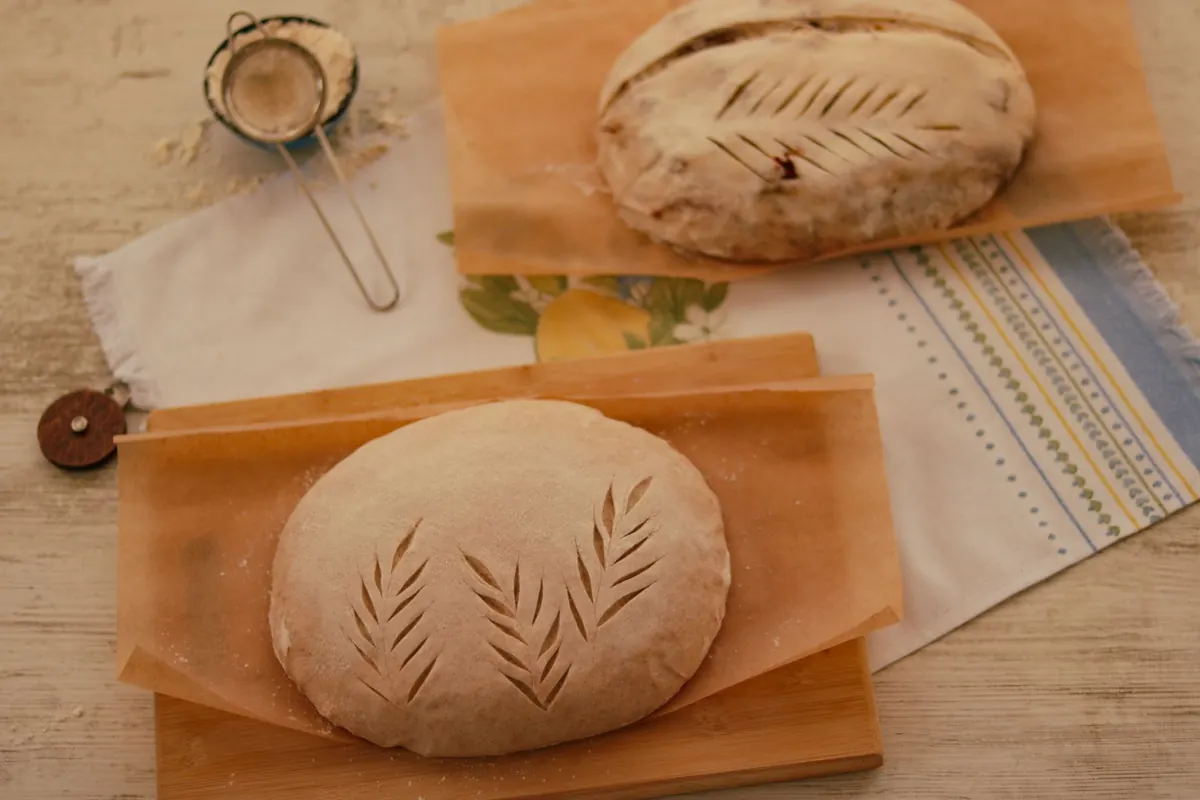
Shape it into a rough round by dragging it across the counter in a circular motion with a cupped hand. Let it rest seam-side down on a floured towel for forty-five minutes while the oven heats to 240°C with your pot inside. Bake in the pot, lid on, for twenty minutes, then lid off at 220°C for another twenty to twenty-five, until it's deeply browned. Cool it for an hour before cutting. This is the hardest instruction in the whole week.
Day 2 — Start the Starter
Mix 50g wholewheat flour with 50g water in the jar and stir well. Cover loosely — a screw lid left a quarter turn open, or a bit of cloth held with an elastic band. Leave it on the counter.
From tomorrow, feed it once a day: discard all but a tablespoon of what's in the jar, then add 50g flour and 50g water and stir. That's it. The discarding isn't wastefulness, it's the only way to keep the acidity from overwhelming a small colony. Keep the discard in a second jar in the fridge; you'll bake with it on day four.
Expect a burst of activity around day two or three, then a lull, because the first organisms to wake up aren't the ones you want. A starter needs somewhere between one and two weeks to become strong and stable enough to raise a loaf on its own. That's why this week's breads use commercial yeast while the jar quietly does its thing. It isn't cheating; it's parallel tracking.
Day 3 — Add Water, Add Patience
Same dough as day one, but push the water to 375g — 75% of the flour weight. You'll notice immediately that it behaves differently: slack, sticky, reluctant to hold a shape. Don't add flour to fix it. Wet your hands instead.
Do all your folding in the bowl rather than on the counter, and do four sets spaced thirty minutes apart instead of two. Each set builds a little more strength into a dough that has none to spare. Handle it with wet hands, not floured ones, and use a quick, confident motion. Hesitation is what makes a wet dough stick.
Soft dough rewards a light hand. If you're fighting it, you're probably gripping it.
Shape and bake as before, but expect a flatter loaf with a more open crumb. It may not look better than day one. It will taste better, and that's the point of the exercise.
Day 4 — Feed, Rest, and Use the Discard
Feed the starter in the morning, then make something small and forgiving from the discard jar. A flatbread is ideal: 200g discard, 100g flour, 60g water, 5g salt, a glug of olive oil, mixed into a soft dough, rested thirty minutes, divided, rolled thin, and cooked in a hot dry pan for two minutes a side. Brush with oil and salt while hot.
This day is deliberately light on work. Baking every single day for a week is a good way to resent bread by Friday, and the starter needs one day where nothing else is demanded of you. If you have energy left, bake a second plain loaf and give it away. Giving loaves away is how this practice survives.
Day 5 — Shape Two Loaves, Bake One
Make the day-one dough at double quantity: 1000g flour, 700g water, 20g salt, 5g yeast. After the bulk rise, divide it and shape the halves differently — one round boule, one elongated batard. Shaping is where most beginners lose confidence, and the fix is repetition, not technique. Do the same motion eight times on the same piece of dough if you need to; the dough is forgiving for a few minutes before the gluten tightens.
Bake one. Put the other, seam-side down in a floured bowl, covered, into the fridge overnight. It will hold there for up to eighteen hours and bake straight from cold tomorrow, which is the single most useful scheduling trick in home baking. It's how you get fresh bread on a workday.
Day 6 — Your First Sourdough Attempt
By now your starter should be rising within four to six hours of feeding and smelling pleasantly sour, like yoghurt with a bit of nail varnish in the background. If it isn't there yet, wait another few days — feed it and skip this bake.
Use 100g of active starter with 500g flour, 340g water and 10g salt. Mix, rest thirty minutes, add the salt, then fold four times over two hours. Bulk ferment until the dough is jiggly and about 50% larger, which may take five or six hours in a cool kitchen. Shape, proof in the fridge overnight, and bake in the pot at 250°C for twenty minutes covered and twenty-two minutes uncovered.
Your first sourdough will likely be denser than the yeasted loaves. The starter isn't at full strength, the timing guesses are guesses, and the fermentation is slower than you expect. Judge it on flavour and on whether it rose at all — both should be yes.
Day 7 — Bake, Taste, and Write It Down
Bake the loaf you stashed in the fridge on day five, and while it cools, open the notebook. Write down, for each of the week's loaves:
- Flour type and brand, and total weight
- Water weight, and the percentage that gives you
- Room temperature and roughly how long the bulk rise took
- What the dough felt like at the end of folding — tight, slack, sticky, silky
- Oven settings, pot or tray, lid on and lid off times
- How it looked and tasted, in one honest sentence
Six lines per bake is enough. In a month you'll have twenty entries and a personal record of your own kitchen's behaviour, which is worth more to you than any recipe written by someone with a different oven and a different bag of flour.
Keeping the Practice Going After Day Seven
Don't try to bake every day now. Two loaves a week is a rhythm most households can actually sustain: one yeasted, one sourdough, with the starter fed daily and the discard baked into pancakes or crackers. Keep the scale on the counter rather than in a drawer. Keep the notebook where you can see it.
When something goes wrong — a flat loaf, a gummy crumb, a crust that's pale and soft — change one variable next time and leave the rest alone. That's the whole method. A week gets you a decent loaf and a working starter; six months of small, recorded adjustments is what turns it into your bread.
Photo: Pexels / Pixabay