
You fed the starter, folded on schedule, and still the loaf came out looking like a paving stone. It happens in every kitchen that bakes sourdough, and it is rarely a mystery of flour brand or oven model. Dense bread almost always traces back to one of three things: gas that was never built, gas that escaped, or gas trapped in a loaf that set on the outside before it finished cooking on the inside.
The encouraging part is that these are mechanical problems, not matters of talent. Once you know which of the ten mistakes below you are repeating, the fix is usually a small adjustment — thirty more minutes in bulk, a wetter hand during shaping, ten more minutes under steam. Here they are, in roughly the order they happen on a baking day.
Before the Dough: Two Starter Problems
Mistake 1: Using a starter before it is ready. A starter does not need to be years old, but it does need to be predictable. If it doubles in four to six hours at room temperature, domes slightly at the top, and smells pleasantly sour rather than sharply of acetone, it will raise bread. If it only foams, or has a pool of dark liquid sitting on top, it is hungry and tired. Feed it at 1:1:1 with a spoonful of whole rye or whole wheat and repeat for two or three days before your next bake. A sluggish starter gives a sluggish dough, and a sluggish dough bakes tight.
Mistake 2: Letting the starter go too sour. There is a point where a starter smells of vinegar or nail polish remover and has collapsed back on itself. That acidity starts breaking down gluten before the dough has even finished mixing, so the structure slackens early and the finished loaf is flat and gummy. If your starter has been sitting neglected in the fridge, pour off the dark liquid, discard most of it, and rebuild with two or three fresh feeds. Take it out the night before or early in the morning so it can wake up properly; cold, half-dormant starter ferments unevenly and makes bulk fermentation hard to read.
Bulk Fermentation: The Timing Mistakes
Mistake 3: Trusting the clock instead of the dough. Recipes give times for a reason, but they assume a dough temperature somewhere around 24–26°C. A kitchen at 20°C in January can stretch a four-hour bulk to six or seven. Learn the visual cues instead: the dough should look domed, feel airy and wobble slightly when you shake the bowl, show bubbles on top and at the sides, and have risen by roughly half to two-thirds of its starting volume. That is the moment to shape.
Mistake 4: Pushing fermentation too far. Over-fermented dough bakes just as dense, for the opposite reason. Acid and enzymes have worn the gluten down, the structure can no longer hold gas, and the loaf spreads, tears, or bakes up flat with a close, sticky crumb and a boozy smell. Watch for dough that slumps instead of doming, tears at the surface, and feels slack and sticky rather than elastic. If it no longer springs back when poked, it has gone past its best.
Track a small sample, not just the bowl
Pinch off 30–40 g of dough right after mixing, press it into a small straight-sided jar, and mark the level with a rubber band. The sample ferments faster than the main bowl, so it works as an early warning: when it has roughly doubled and crowned at the top, your dough is close to ready. This single habit removes most of the guesswork from bulk fermentation, especially in a cold kitchen.
Stop shaping when the timer says so, and start shaping when the dough looks ready.
Gluten Development and Dough Handling
Mistake 5: Expecting folds to do all the work. Stretch-and-folds build strength, but they cannot rescue a dough that was never mixed enough, particularly when you are working with whole grains at higher hydration. Mix until the dough is smooth and elastic, then check it: stretch a small piece between your fingers until it is thin enough to let light through without tearing. If it rips raggedly, give it another fold set and check again. Rye is the exception — it never forms a proper windowpane, so handle it more like a thick batter and accept a denser crumb as the style rather than a fault.
Mistake 6: Adding flour to stop the dough sticking. Every extra handful changes the hydration, tightens the crumb and adds weight. Wet your hands, use a bench scraper, and dust with rice flour or a very light coating of wheat flour. The same instinct shows up when bakers punch dough down or fold it hard during the pre-shape. You spent hours generating that gas; move the dough gently enough that most of it stays where it is.
Shaping and the Final Proof
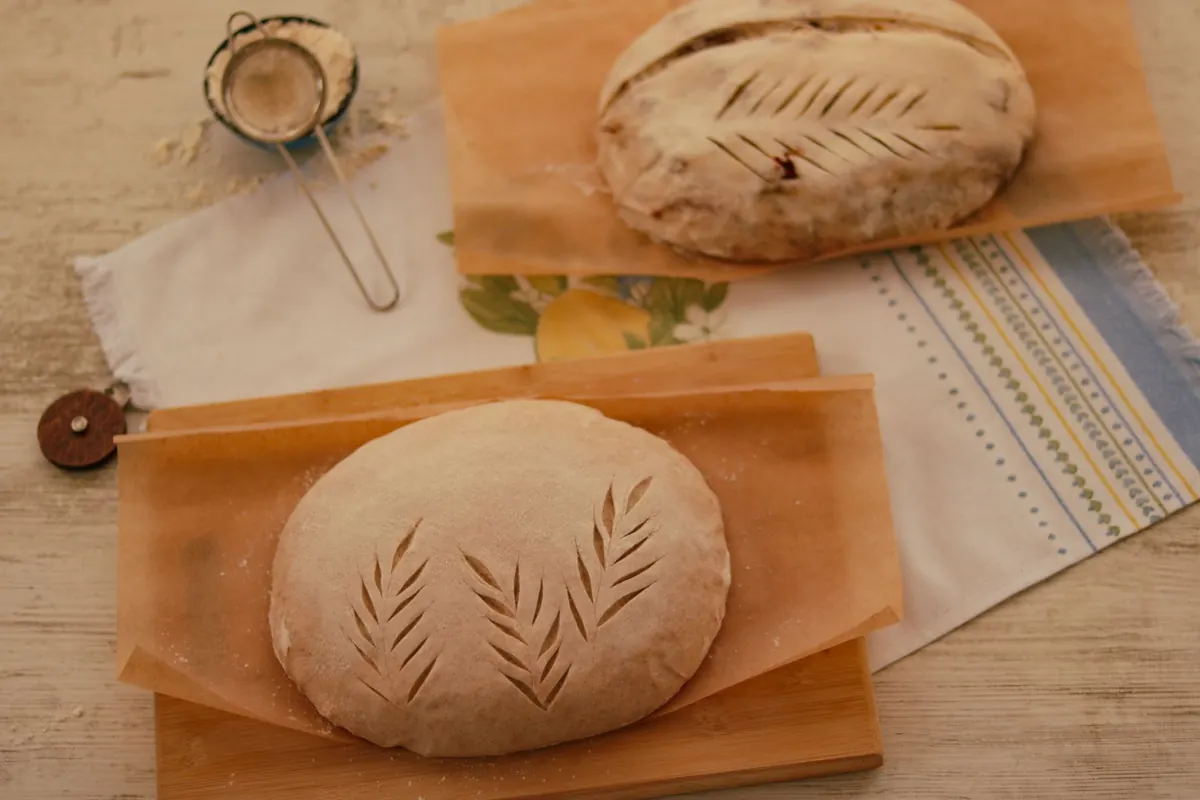
Mistake 7: Shaping without building tension. A loaf with a slack surface spreads sideways in the oven instead of rising up. After a twenty-minute bench rest, shape with light, firm movements: fold the dough onto itself, then drag it across the bench with your cupped hands or a scraper until the surface tightens and feels like a drum. Place it seam side up in the basket. Also check the basket size — a banneton much wider than the dough lets it slump, and a slumped loaf bakes flat.
Mistake 8: Guessing at the final proof. Under-proofed dough springs back quickly when poked with a floured finger and feels firm, then bakes with a dense crumb and a dramatic tear at the base. Over-proofed dough holds the dent, feels wobbly, and bakes pale and flat. Cold dough straight from the fridge is misleading to judge, so press it lightly and look for a soft, marshmallowy feel with a little gas left in it. If you are unsure, bake a test loaf small rather than ruin a big one.
Baking: Heat, Steam and Patience
Mistake 9: Baking without enough heat or steam. Preheat your oven, stone or Dutch oven for a full 45–60 minutes; a stone that is still warming pulls the base of the loaf down with it. Steam keeps the crust supple for the first fifteen to twenty minutes so the bread can expand before the surface sets. Without it, the crust hardens while the middle is still dense. Bake hot, then remove the lid or vent the oven so the crust can dry and colour.
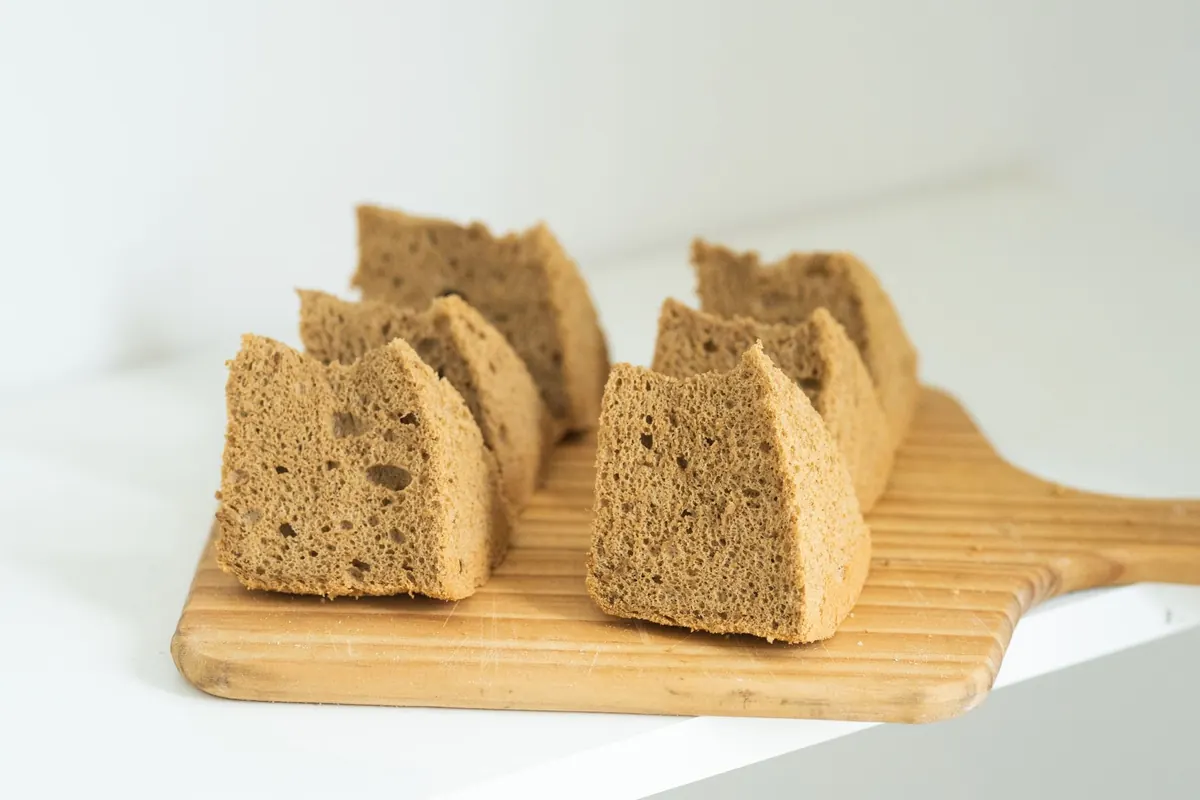
Mistake 10: Underbaking, then slicing warm bread. A pale loaf is often an underbaked loaf, with a gummy centre that feels heavy on the tongue. Bake to a deep golden brown, listen for a hollow sound when you tap the base, and use a thermometer if you like certainty — somewhere around 95–99°C in the middle. Then wait. Bread keeps cooking as it cools, and cutting into it while hot smears the crumb and compresses it. Two hours minimum; three or four for rye and whole-grain loaves.
A Practical Checklist to Diagnose a Dense Loaf
Next bake, work through these in order and change only one thing at a time so you can tell what worked:
- Confirm the starter doubles within six hours of feeding, and use it at its peak.
- Note your dough temperature and the kitchen temperature alongside the time in bulk.
- Use a sample jar to track rise, and shape at 50–75% growth.
- Mix to a proper windowpane, then build strength with gentle folds.
- Shape with firm, light tension and match the dough to its basket.
- Judge the final proof by feel, not only by the clock.
- Preheat fully, bake with steam, and let the loaf cool completely before cutting.
Keep a few notes on each bake — temperatures, times, how the dough felt — and patterns appear within three or four loaves. Density is usually the last thing to go and the first thing to return if you rush a step. Take the extra half hour. The bread will tell you it was worth it.
Photo: Cats Coming / Pexels